Sponsor Link:

Showing posts with label Saran Hair Reroot. Show all posts

Saturday, June 28, 2014

Tutorial: Saran Hair Reroot

Material you need:
 
1. Saran hair: 3 x Large Format from KatSilk. You can get it online here
2. Plier
3. Doll reroot needle
4. A bowl of water
5. Scissors
6. Tweezer
7. Nail polish remover (any brand)
8. Cotton pad
9. Masking or cellophane tape
10. Acrylic paint similiar to the hair

By using scissors, cut off the hair as short as possible.


Use your tweezer, remove all the remaining hairs.

Remember to flap over and remove the inner hair too.


Using soap and water, clean off the tiny hairs.


By using the nail remover, remove the paint. with cotton pad. It should be easily wipe away.

Wash again the hair dome with clean water and soap. You won't want to smell the polish remover.

Using the cellophane or masking tape, tape as below. (this is optional if you want your doll's forehead to look as skin colour)

Choose your acrylic colour.

I'm not recommend to use this glossy type. It's very sticky after i paint it on :(

Katsilk Saran hair large format (length until feet) I bought it 3 pack and it's enough for Blythe doll.

Cut the strand into half.

Prepare the hair into plugs. Each plug can be up to 13-18 depending the thickness you want .

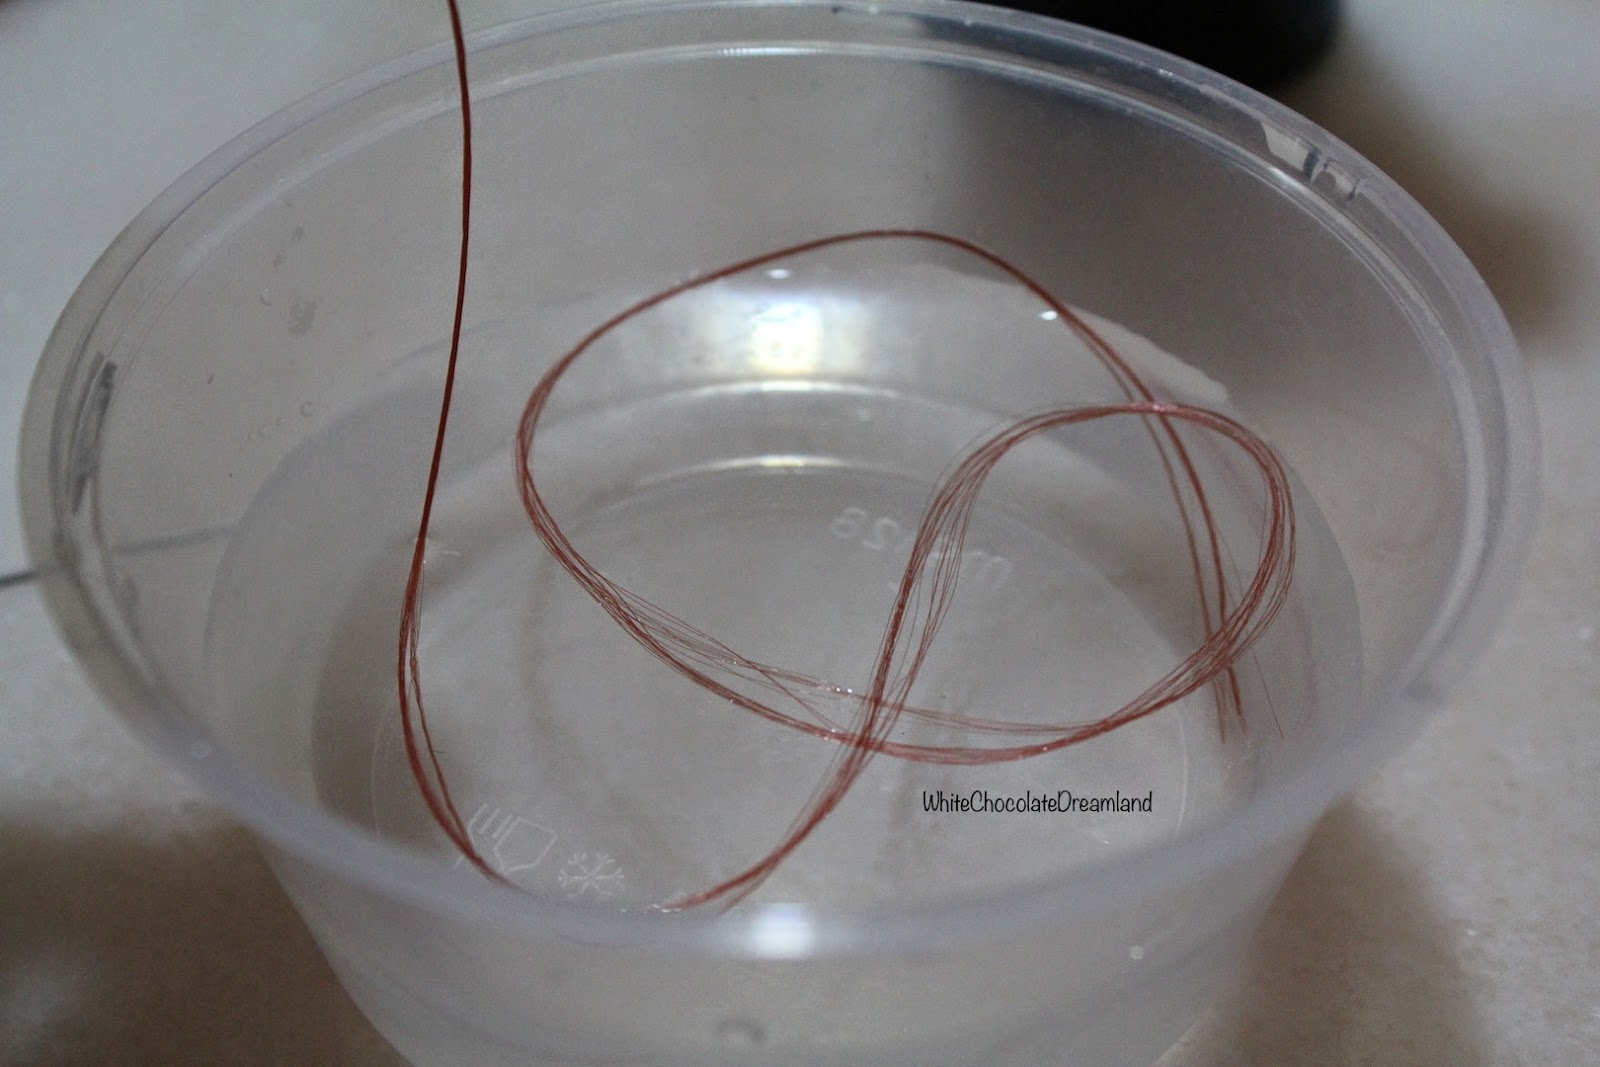
Each pluck of hair you need to dip it into water. (Hair must be wet)
  
For rerooting, please follow step by step as the pictures below.


You can choose middle parting or side parting.

After complete the parting, do the hair crossing as below.


Monday, July 23, 2012

My 7th Custom Blythe - Beatrix (Process)


Head opening


 Remove scalp from the dome.

 Original stitch is always the best. Neat and tidy.


 I start to cut the hair to as short as possible.

 Can't cut it completely bold :(

By using the crochet, i started to pull the stitching one by one.

 *Tips: Remaining hairs can be remove by using cellophane tape.


 Clean the remaining hairs with water and dry it :)

 Original hair parting was at the side.

 For this custom i want the hair to be part at the middle. So i did a marking using ballpoint pen.

 By using the reroot needle, make some hole at the both side of the marking.

 Line should be something like this.

By using the cellophane tape, tape bottom of the scalp as you need to color the scalp later.

 Scalp coloring using acrylic paint.

I order the saran hair from Restoredoll.com. For Blythe reroot, you need 4 pack at least.

 Light blue saran hair.

Navy color saran hair. The hair is super silky and smooth. Very high in quality.

Hair need to be wet at all time and segment into pieces. This is my 1st attempt reroot. So i stack the strand in thick volume.


I start reroot at the part line.

 Part line need to be very neat, straight and think.

 It doesn't really matter how it look inside or which part to start to reroot.

 Start to do the thatching (crossing the hair from left to right).

 Secure it with hair pin or rubber band.

 I'm using the locked loop technique. Rerooting Blythe hair need a lot of time and patience.

 Process....


 It took more than a week but less than 2 weeks to finish.


This is how it look from inside.

 Put a damp towel on top of the part line and iron on it. Make sure the towel is damp.

I repeat this steps 4-5 times to make sure the part line stay still :) Finished!


 Now i start custom the face plate.

 Sanding process..

 I reshape and marked the lips with pencil. Black one is the place i need to carve.


Carving need a lot of skill. I'm still learning ^^,

 Final face plate. Added nostril and philtrum. I sealed with MSC flat.

Final coloring and make up.

 Spray acrylic on the eyelids. This is the 1st layer. I end of with 3 layers.

 Choosing the eye chips. This is one of my favourite hand painted eye chips :)

The end....

Please refer another album for the full photo shooting :)